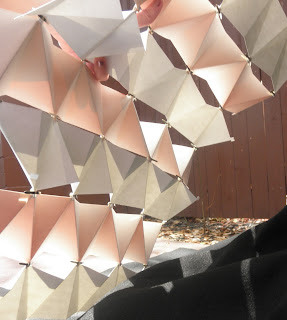


A place for meditation?


 The triangulated wall panels work to create a flexible wall system that can adapt to the designer's needs. Variations in the triangle orientation create voids that angle towards either the interior or exterior. Exterior angled voids could direct fluids to drain to the interior, and interior angled voids permit sunlight to filter through. The voids can be increased or decreased in size simply by altering the size of the triangles. Flexible joints, such as these brass fasteners allow the wall system to mold to any desired shape.